

DIY Dogbed
- Sep 9, 2016
- 3 min read
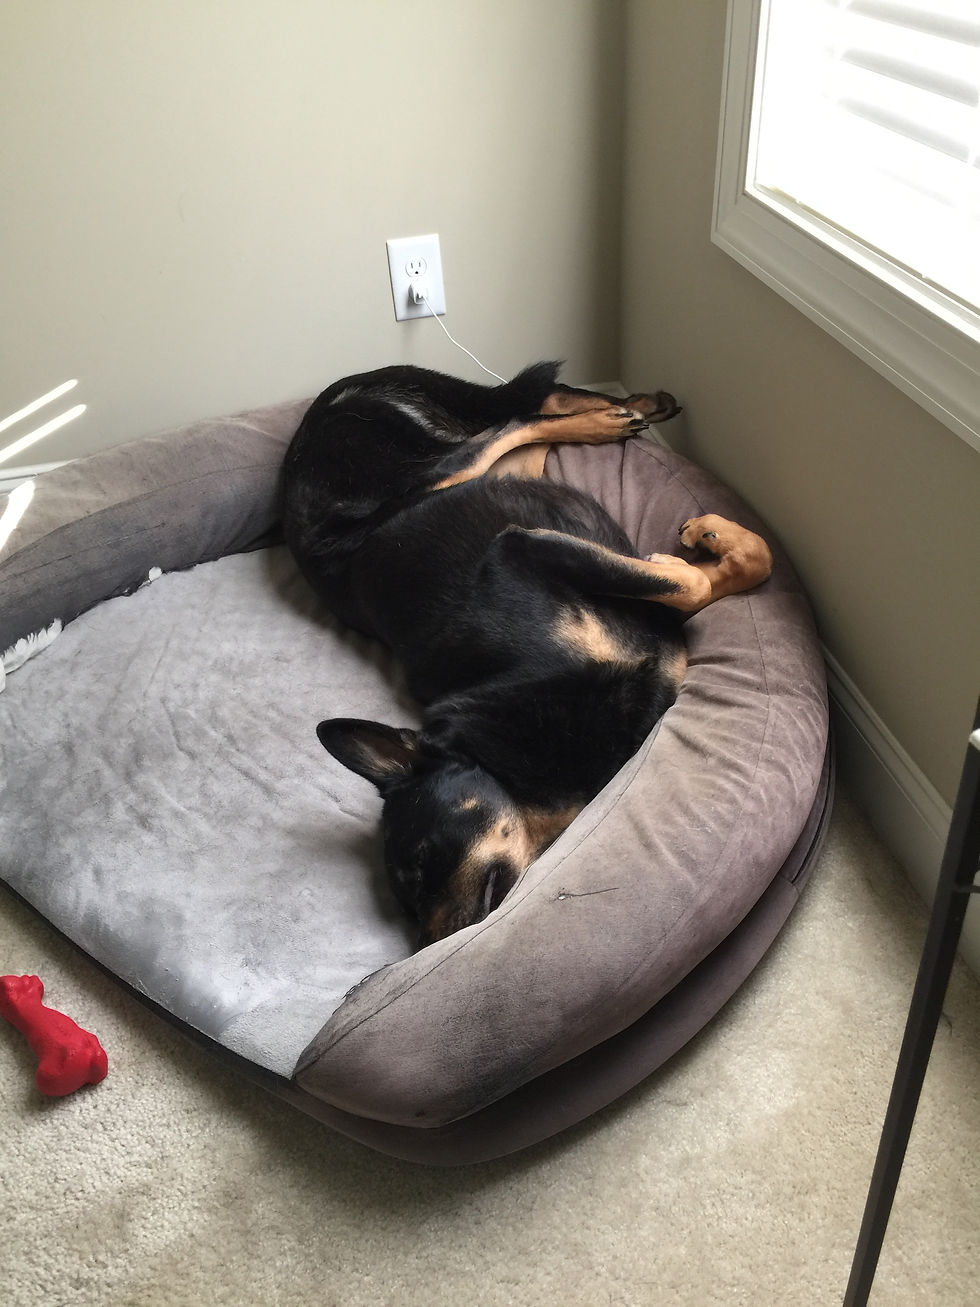
After we finished our bed we were starting to look around our room to try and get it ready for our "adult" bedroom. Ninja's bed is the biggest eye sore in the room! We even had some leftover plywood from making the bench for our nursery and finishing our bed. Figured why not!?
One of my husband's coworkers is moving and getting rid of a lot of their baby stuff. They have been amazing about giving us so many hand-me-downs! I am super thankful for such amazing friends who are done having children. Anyway, they gave us their old crib mattress which is a perfect size for the dog.
We only had to get a few pieces of wood to finish the bed. While we were at it we decided to make his bed match ours! Here is what we did and I again apologize that there aren't many pictures because I actually didn't help at all with this project. My parents were in town and my dad and husband did all of the work.
DIY Dogbed
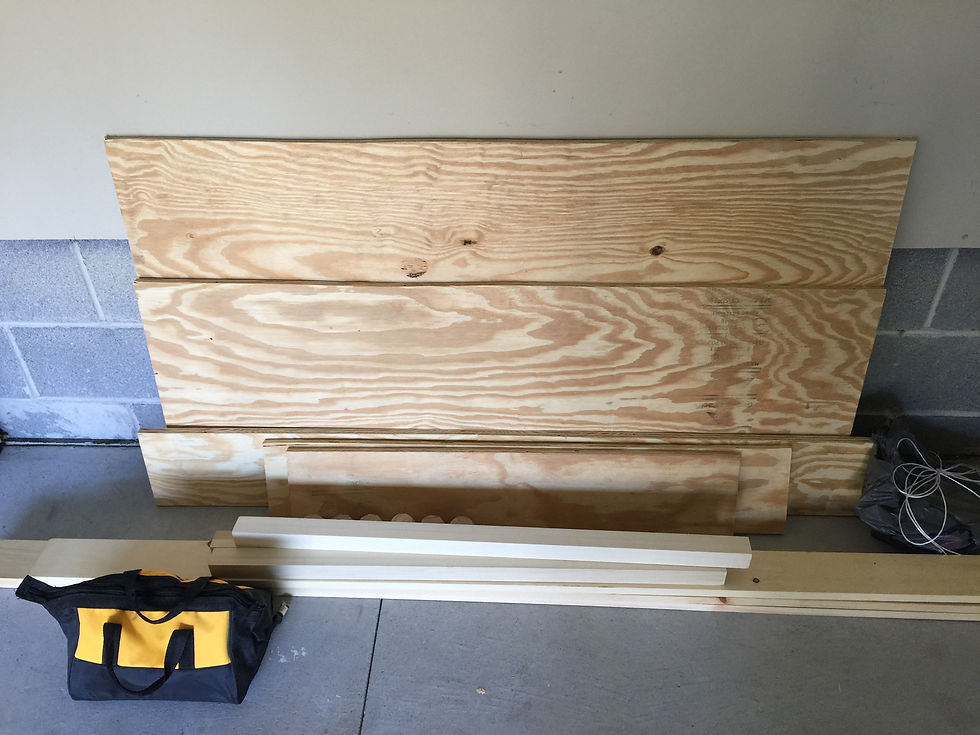
Supplies:
3/4" plywood
Legs
1x4" pine
1x2" pine
Wood Screws
Wood Filler
Nails
L-brackets with screws
Sander with sandpaper
Stain
Directions:
1. Cut your base plywood about an inch wider than your mattress.
2. We used leftover legs from our nursery bench to help give support and some height to the bed.
3. Cut your plywood for the 4 sides. We made ours 3 inches higher than the base to help hold in the mattress for the front and two shorter sides, but made the back ("headboard") 15" higher for the planking. Cut the front piece at a miter on both sides and the two shorter sides only miter one side.
4. To plank the "headboard" cut your 1x4s to varying lengths. Screw from the front into your plywood and sinking the screws slightly. Cover with wood filler. Instead of cutting out all of the little pegs like we did for our headboard my husband decided to just use the peg cutter to cut circles around the screws. It turned out great, but make sure you use the wood filler for your screws before cutting the circles or else you might cover them.
5. We used 2x2s to add more support and something to screw the side pieces into to prevent the plywood from splitting. From the base screw down into the 2x2 along all 4 sides. From the outside screw into the 2x2 below the base. Sink your screws and fill with wood filler.
6. Use your L-brackets to hold the sides together above the base.
7. Cut your 1x2s to size to "frame" out the top of the sides and around the "headboard".
8. Sand your project and stain.
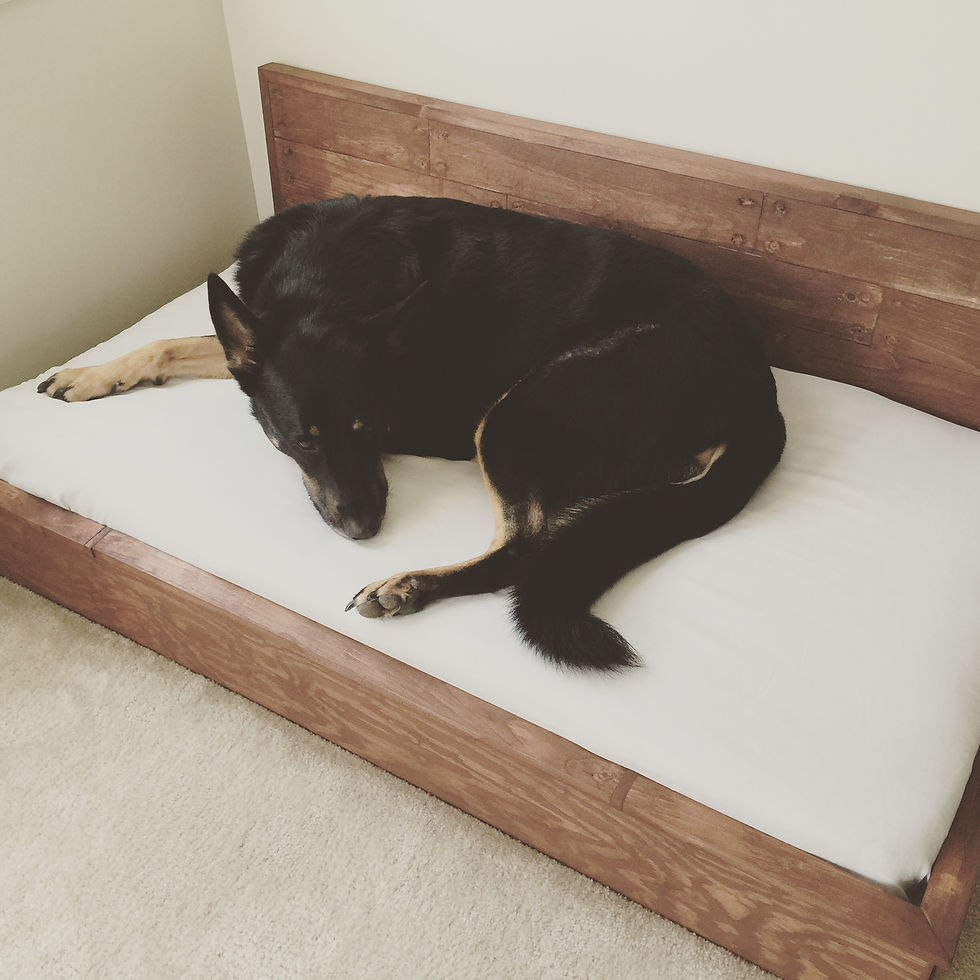
Our dog loves his new bed and he looks like such a big boy with his fancy new bed. The headboard is great because it keeps him from rubbing/kicking our walls and he loves to lean against something when he sleeps so it's perfect. I plan to make him a few bolsters to go on it too eventually to allow him more things to snuggle with.
Price:
Mattress-free ($30-$40 if you have to buy)
Plywood-free (leftover from another project)
Legs-free (leftover from another project)
Stain-free (leftover from another project)
Remaining wood-$50 (the 2x2s were about $5 each which is why it was a little high)
L-brackets-$3
Total=$53
His last bed we bought him cost us $100 and it only lasted him about 2 years. So far I count this as a win. The mattress is so much better for his joints than anything else we can afford for him and we just put sheets over it! Not to mention it looks amazing with our bed.
It was really simple and a great way to prevent the dogbed from being the eyesore in your room. Are you tempted to go out and make your four-legged friend a fancy new bed now too?
Comments